Glow ring

Barb

Member
Full Member
Messages
2,752
Reaction score
5,037
Location
Wisconsin
First name
Barbara
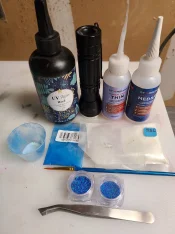
@Karl_TN expressed an interest in knowing how I made the glow in the dark rings so I thought I'd post it for everyone.

1.webp

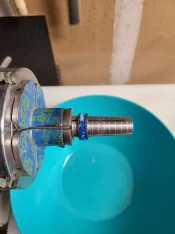
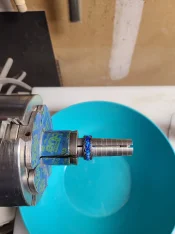
I make sure I get the ring core as level as possible on the chuck.
2.webp

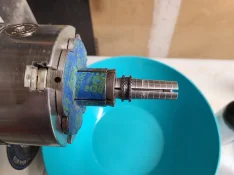
I then paint a thin layer of UV resin on the base of the core and sprinkle glow powder on it. I tap it lightly to spread it out.
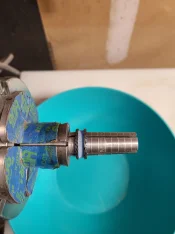
3.webp

I put a little dollop of uv resin on a piece of plastic so I can dip each piece of opal onto it before placing it on the ring.
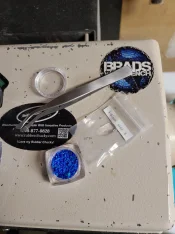
4.webp

5.webp

After it's filled in with the larger chunks, I sprinkle colored glow powder so it blends in with the opal better as well as some fine crushed opal.
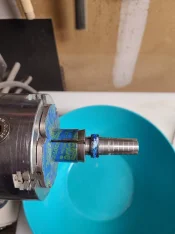
7.webp
8.webp

I sand it down almost to the metal with an angle grinder. I used to use a dremel but it took too long. After that I use a square carbide to take the rest of the excess opal off.
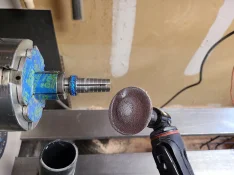
9.webp

I use medium ca glue to fill in the big gaps then thin ca glue to top it all off. The rolled up paper towel allows me to keep most of the glue on only the opal.
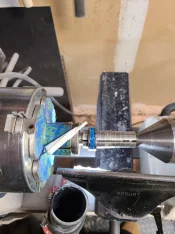
10.webp
 
  • Thread Starter Thread Starter
  • #2
Once all the gaps are filled in I sand with micro-mesh(?) pads.
11.webp

12.webp

After that I use car wax to do the final polish. It's quick, easy, inexpensive and it works great.
14.webp

The final product. :)
15.webp
 
  • Thread Starter Thread Starter
  • #6
Thanks Barb, cool process!

Question: why don't you use the UV resin for the whole process?
I only use the UV resin for the initial glow powder and the larger chunks of opal because it doesn't cure until you apply a black light. CA glue cures too quickly and sometimes it takes more than a little bit to get those tiny pieces situated just right. Once I get the larger pieces set all the way around the core, I only use ca glue.

Edit: I originally read your question wrong. I thought you asked why DID I use UV for the whole process.

I didn't use it for the entire process because I've had UV resin create micro bubbles when I put a black light to a thick layer and I don't want that to happen. When I apply the thin and medium ca glue, I let it dry naturally in between coats which doesn't cause bubbles.
 
Last edited:
Thanks for your willingness to share this tutorial. What you said makes a lot of sense about the time needed to glue all those little opal pieces in a way that shows off the best reflection. Still pics of the final results doesn’t do these justice since it can’t show off the opalescent glow.
 
Meant to ask about those chuck jaws for holding the rings while turning. Are those jaws specific to one manufacturer’s chuck?
 
I only use the UV resin for the initial glow powder and the larger chunks of opal because it doesn't cure until you apply a black light. CA glue cures too quickly and sometimes it takes more than a little bit to get those tiny pieces situated just right. Once I get the larger pieces set all the way around the core, I only use ca glue.

Edit: I originally read your question wrong. I thought you asked why DID I use UV for the whole process.

I didn't use it for the entire process because I've had UV resin create micro bubbles when I put a black light to a thick layer and I don't want that to happen. When I apply the thin and medium ca glue, I let it dry naturally in between coats which doesn't cause bubbles.
I was guessing the resin might form bubbles, thanks for confirming.
 
  • Thread Starter Thread Starter
  • #10
Meant to ask about those chuck jaws for holding the rings while turning. Are those jaws specific to one manufacturer’s chuck?
This one in particular is called an expanding ring mandrel that's being held in a chuck. I got it from patrickadairsupplies.com. It can be held in a chuck with pin jaws or a drill chuck. You can get a less expensive one on woodturnerscatalog.com.
 
Last edited:
Back
Top