

I built a light box awhile back for photographing calls, small, light, portable, but durable. Used an LED light kit for light source, scrap lumber that was in the loft in the shop. Has it's good points and bad points. Wish it were bigger, by the same respect it's too big. All of my light is in the top and it really does need a light source lower in the box. I have to raise the object I'm photographing about 1/3 the height of the box to light it properly, were light added from both sides it would fill much better.
LED kit was purchased here... http://www.barlighting.com/Rigid-LED-Strip-Lighting/ - These kits come complete with everything you need, simply plug and play if anyone ever needs such for a project of any nature. Installed one in a lawyer's cabinet for lighting my game call collection, 6 - 7 years ago, stays on 24/7, and not a single LED is out. Great product for the money!!
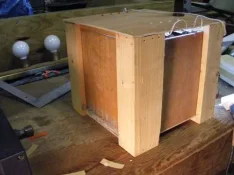
Construction was 1x4 Fir ripped down, and some 1/4" mahogany plywood. Simple 1'x1'x1' box.
Kit comes with little tiny phillips head screws which are a pain in the @$$, found it much easier to use the ice pick and zip ties to fix the light bars.
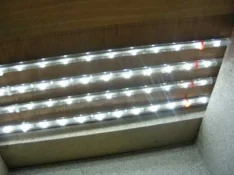
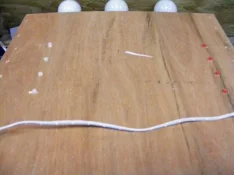
Had one strip left over from my call cabinet project and I added it at the front trying to get more light in front of the calls.
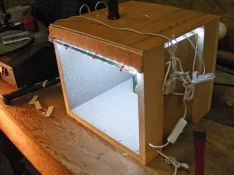
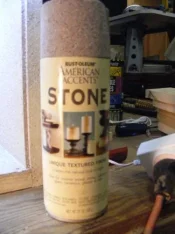
Interior was painted with Rustoleum Textured Paint in Stone...
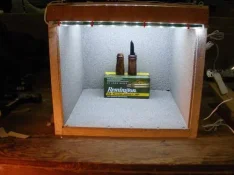
Does take some decent pictures when you get it right, but cell phone will NOT take a picture in it. Either comes out too dark if you don't fire the flash, or it gets way too bright and washes everything out with light if you do fire flash.
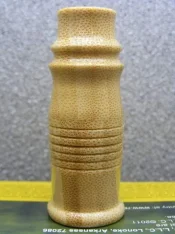
Have maybe 2 hours invested sawing all of this out and slapping it together. Took longer for the paint to dry than it did to build it.
LED kit was purchased here... http://www.barlighting.com/Rigid-LED-Strip-Lighting/ - These kits come complete with everything you need, simply plug and play if anyone ever needs such for a project of any nature. Installed one in a lawyer's cabinet for lighting my game call collection, 6 - 7 years ago, stays on 24/7, and not a single LED is out. Great product for the money!!
Construction was 1x4 Fir ripped down, and some 1/4" mahogany plywood. Simple 1'x1'x1' box.
Kit comes with little tiny phillips head screws which are a pain in the @$$, found it much easier to use the ice pick and zip ties to fix the light bars.
Had one strip left over from my call cabinet project and I added it at the front trying to get more light in front of the calls.
Interior was painted with Rustoleum Textured Paint in Stone...
Does take some decent pictures when you get it right, but cell phone will NOT take a picture in it. Either comes out too dark if you don't fire the flash, or it gets way too bright and washes everything out with light if you do fire flash.
Have maybe 2 hours invested sawing all of this out and slapping it together. Took longer for the paint to dry than it did to build it.
Last edited:


