
You are using an out of date browser. It may not display this or other websites correctly.
You should upgrade or use an alternative browser.
You should upgrade or use an alternative browser.
Nickel Plating Lever Cap
- Thread starter Asssiss
- Start date

- Thread Starter Thread Starter
- #22
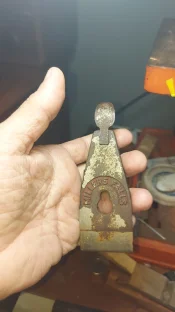
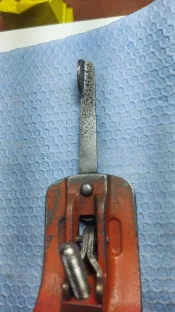
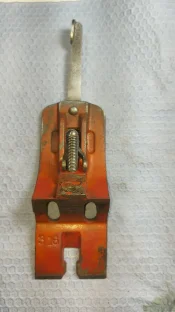
Hello folks...I just finished the nickel plating part.
During the polishing time I was "cleaning the extra nickel" and made many deep scratches at surface...no possible hide the scratches only polishing...I need to take out all nickel again and no way to me do it....will be the "scar of mistake".
Two mistakes here:
1-Too much time at solution .Must check after two hours and I left almost four hours.
2-Clean the extra nickel using the wrong way/tool.
I belive my red paint is not same of Millers Falls red but for while I don't want to buy an extra paint just for it.
I"ll left some extra nickel at lever cap to avoid damage more.Do all again is not my intention.It is not brand new appearence but is much better now than before and I know I did the mistakes and not the process is in fault.The process is so nice and simple.
I always talk to my daughter (15 yo) about how mistakes help us in be better at life...the learning curve of life needs the mistakes to help us in find the answer...to change the direction..to stand-up....to try again and again and the most important is never give-up....do things always right is kind of boring...if the wind blow from only one direction the tree will be grow up curved ...like a Chinese Proverb.
See the pictures below:
Here the extra nickel all around.Too much time at solution.
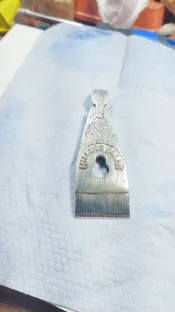
Poishing time
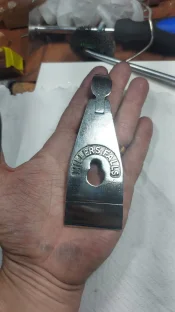
Back
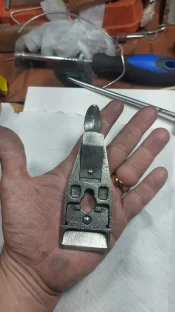
Edge
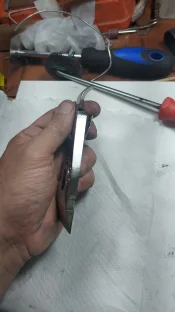
See the scratches...more visible at picture than by eye.
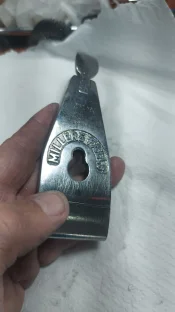
Solution still green as must to be
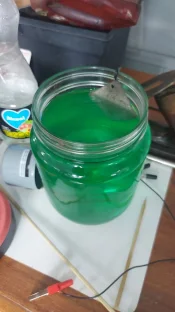
See the tape at "mirror" surface
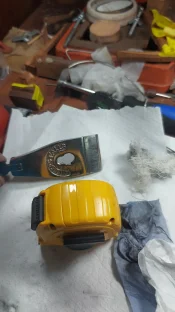
Vaseline to clean simple after paint
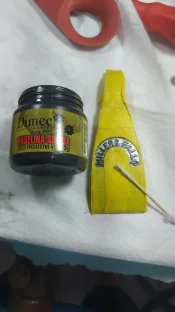
Wrong red paint
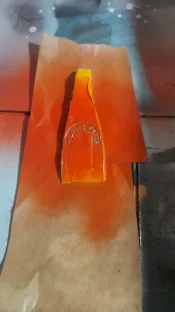
See the YT short video.
 youtube.com
Thanks for attention
During the polishing time I was "cleaning the extra nickel" and made many deep scratches at surface...no possible hide the scratches only polishing...I need to take out all nickel again and no way to me do it....will be the "scar of mistake".
Two mistakes here:
1-Too much time at solution .Must check after two hours and I left almost four hours.
2-Clean the extra nickel using the wrong way/tool.
I belive my red paint is not same of Millers Falls red but for while I don't want to buy an extra paint just for it.
I"ll left some extra nickel at lever cap to avoid damage more.Do all again is not my intention.It is not brand new appearence but is much better now than before and I know I did the mistakes and not the process is in fault.The process is so nice and simple.
I always talk to my daughter (15 yo) about how mistakes help us in be better at life...the learning curve of life needs the mistakes to help us in find the answer...to change the direction..to stand-up....to try again and again and the most important is never give-up....do things always right is kind of boring...if the wind blow from only one direction the tree will be grow up curved ...like a Chinese Proverb.
See the pictures below:
Here the extra nickel all around.Too much time at solution.
Poishing time
Back
Edge
See the scratches...more visible at picture than by eye.
Solution still green as must to be
See the tape at "mirror" surface
Vaseline to clean simple after paint
Wrong red paint
See the YT short video.
- YouTube
Enjoy the videos and music you love, upload original content, and share it all with friends, family, and the world on YouTube.
youtube.com
Thanks for attention
Last edited:
- Thread Starter Thread Starter
- #23
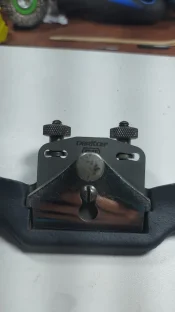
Hello folks...In 2023 I purchased this spokeshave from Internet...it was without blade and gray paint...look the lever cap at owner's pictures.
I nickel plated it at that time...the thumb screw still original.
At owner's home
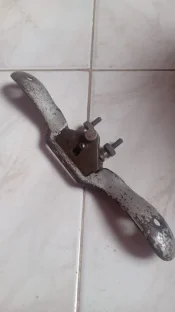
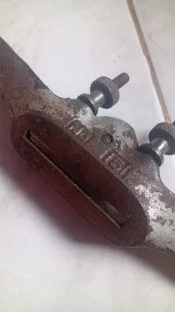
See the lever cap and thumb screw
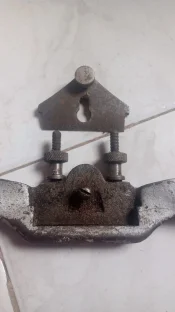
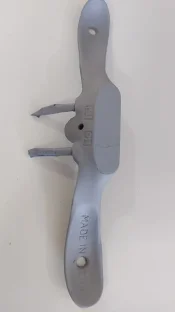
Primer paint
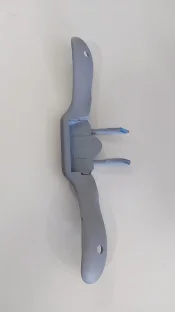
Nickel plated in 2023
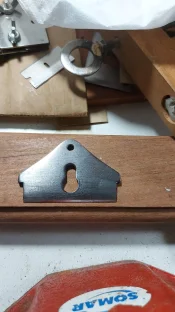
Black color is nicier and close to original
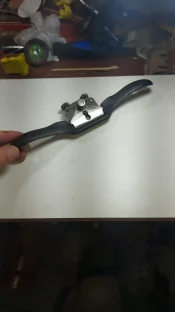
Veritas blade works nicely
You can see my nails
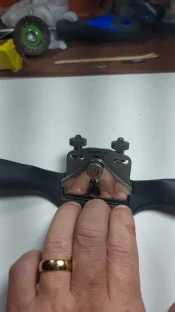
Thanks for attention
I nickel plated it at that time...the thumb screw still original.
At owner's home
See the lever cap and thumb screw
Primer paint
Nickel plated in 2023
Black color is nicier and close to original
Veritas blade works nicely
You can see my nails
Thanks for attention
Last edited:
- Thread Starter Thread Starter
- #24
Hello folks...I'm waiting the red paint dry (until tomorrow) and check how is.
This Millers Falls plane problably is circa 1940...but when I disassembly all parts "ll check in details.
I was thinking in put a new blade and cap iron from Hock Tools. I"ll keep the Hock spare parts i hold for while.
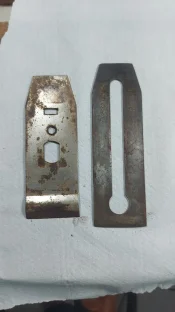
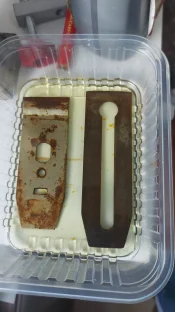
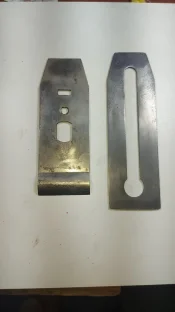
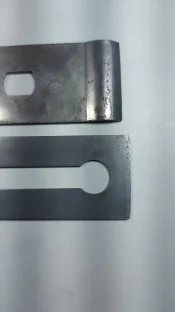
I cleaned the rust of original blade and cap iron .The blade is almost passed away and very low meat avaiable.
My intention now is make a back bevel around 15⁰ or 20⁰ and use the MF plane for dificult grain as many Brazilian woods.This small size match my normal jobs.
Here Rob Cosman video about it.You don't need to buy nothing new and can sacrifice an old or over used blade.I have one at my Stanley #5 and works very well.
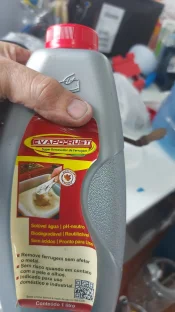
I used the Evapo-rust for clean the rust from blade and cap iron (screw too).
I still adding the pictures here because the nickel plating is an improvement for this plane .
See the pictures below:
Bad condition
Evapo-Rust
Cleaned and very good now
The blade almost died
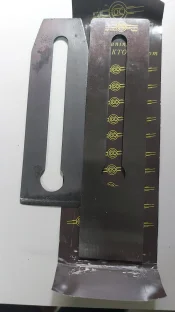
Look how they used the blade
Soon I"clean the frog and other parts
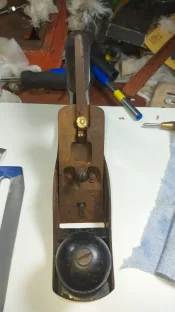
The screw slot very damaged
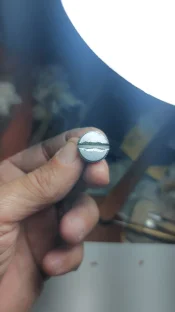
Very good condition of thread and "body "
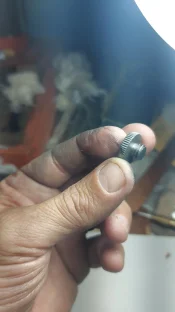
Waiting until tomorrow.
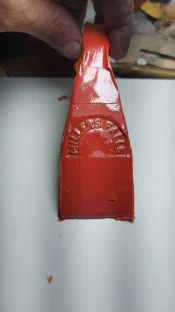
Thanks for attention
This Millers Falls plane problably is circa 1940...but when I disassembly all parts "ll check in details.
I was thinking in put a new blade and cap iron from Hock Tools. I"ll keep the Hock spare parts i hold for while.
I cleaned the rust of original blade and cap iron .The blade is almost passed away and very low meat avaiable.
My intention now is make a back bevel around 15⁰ or 20⁰ and use the MF plane for dificult grain as many Brazilian woods.This small size match my normal jobs.
Here Rob Cosman video about it.You don't need to buy nothing new and can sacrifice an old or over used blade.I have one at my Stanley #5 and works very well.
I used the Evapo-rust for clean the rust from blade and cap iron (screw too).
I still adding the pictures here because the nickel plating is an improvement for this plane .
See the pictures below:
Bad condition
Evapo-Rust
Cleaned and very good now
The blade almost died
Look how they used the blade
Soon I"clean the frog and other parts
The screw slot very damaged
Very good condition of thread and "body "
Waiting until tomorrow.
Thanks for attention
Last edited:
- Thread Starter Thread Starter
- #25
Hello folks...I was checking the paint and because was an overflow it still creamy...so I"ll wait 24h more...
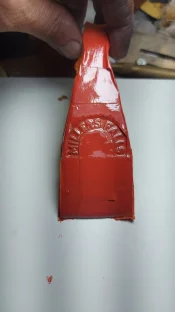
Too much paint around the letters...this is a low quality sprayer (but the correct was apply and wait between layers/coats...I was so fast)...paint still creamy
Thanks for attention
Too much paint around the letters...this is a low quality sprayer (but the correct was apply and wait between layers/coats...I was so fast)...paint still creamy
Thanks for attention
Last edited:
- Thread Starter Thread Starter
- #26
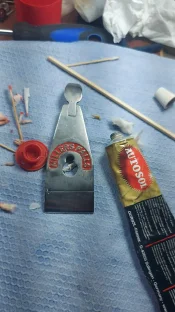
Hello folks...I just cleaned the letter and polished the lever cap.I need clean a little bit more because I can see few spots at that.But because lacquer thinner can damage the reat I"ll do it tomorrow.
Using toothpick and cotton
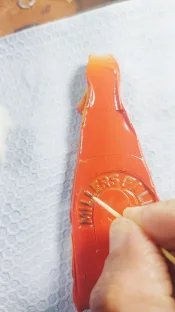
Like nail cleaning
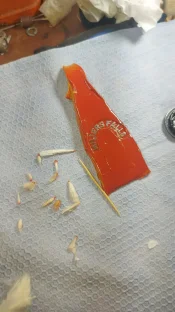
Almost good
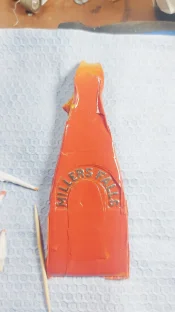
Using Autosol
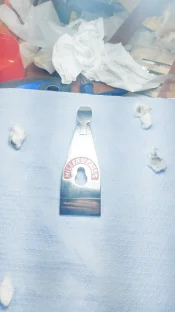
It is so bright and better than before
All body shine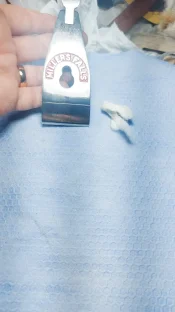
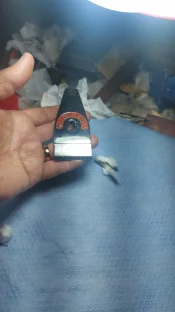
Just for comparsion
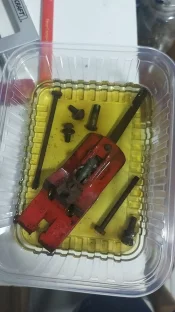
At Evapo-rust for the next steps.
See the short YT video:
youtube.com
Thanks for attention
Using toothpick and cotton
Like nail cleaning
Almost good
Using Autosol
It is so bright and better than before
All body shine
Just for comparsion
At Evapo-rust for the next steps.
See the short YT video:
- YouTube
Enjoy the videos and music you love, upload original content, and share it all with friends, family, and the world on YouTube.
youtube.com
Thanks for attention
Last edited:
- Thread Starter Thread Starter
- #28
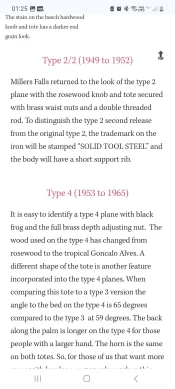
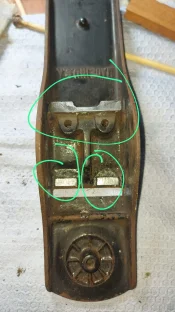
Hello folks...I disassembled the plane and checked the plane has a mix of pieces from type 3 and 2/2.The blade has a SOLID TOOL STEEL...but is difficult to see.
In general the body and frog are both in good conditions.
Based in types from MF this plane has at least 73yo.
I"ll just clean the body and frog....clean the rust at screws.Polish the brass wheel.Sand the sole and sides...keep the knob and tote as they are now (just a little wax coat).
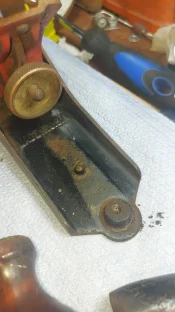
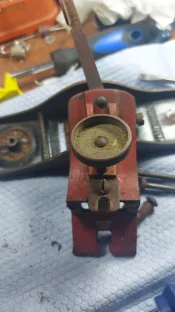
Brass adjust wheel...two parts yolk
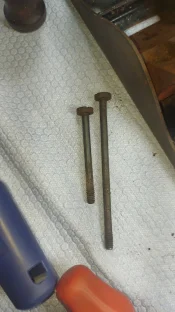
One piece steel screws (no brass)
I need to clean all to check for numbers
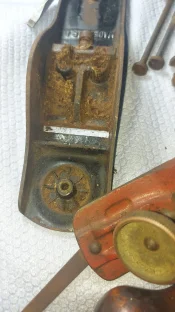
Lateral adjuster too rusty
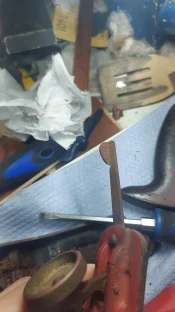
Frog in good conditions
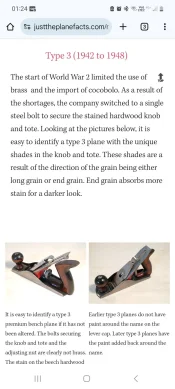
Type 3 and 2/2 diferences
Thanks for attention
In general the body and frog are both in good conditions.
Based in types from MF this plane has at least 73yo.
I"ll just clean the body and frog....clean the rust at screws.Polish the brass wheel.Sand the sole and sides...keep the knob and tote as they are now (just a little wax coat).
Brass adjust wheel...two parts yolk
One piece steel screws (no brass)
I need to clean all to check for numbers
Lateral adjuster too rusty
Frog in good conditions
Type 3 and 2/2 diferences
Thanks for attention
Last edited:
- Thread Starter Thread Starter
- #29
Hello folks...one more step....I've been working on shifts for 36 years and to me these "home jobs" are so relaxing....
Here the paint must to be cleaned.
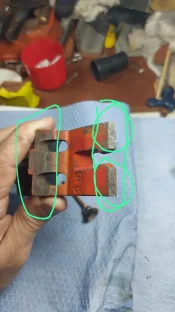
Cleaned
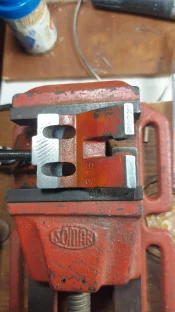
Same here.
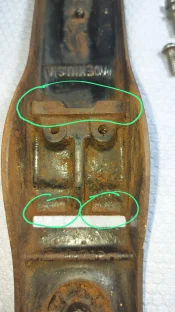
Better frog fit....the mill grind marks... good fit.No file needed.
Frog clean.Bare metal
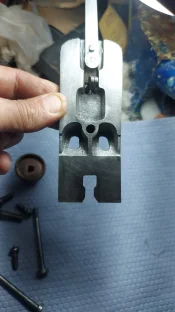
All parts cleaned.Bass wheel patina (I"ll keep it)
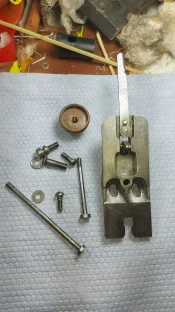
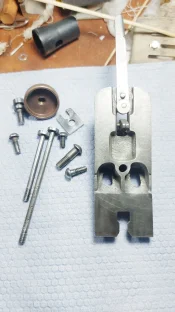
The corrosion left deep marks
Frog number
Deep corrosion
Tomorrow more "work"
Thanks for attention
Here the paint must to be cleaned.
Cleaned
Same here.
Better frog fit....the mill grind marks... good fit.No file needed.
Frog clean.Bare metal
All parts cleaned.Bass wheel patina (I"ll keep it)
The corrosion left deep marks
Frog number
Deep corrosion
Tomorrow more "work"
Thanks for attention
Last edited:
- Thread Starter Thread Starter
- #30
Hello folks...I worked a little bit more today...
I cleaned the sides and started to flat the sole and sharp the blade.
I did a 20⁰ back bevel.I assembled the plane for a test drive....I"ll work a little bit more soon ....see the pictures below:
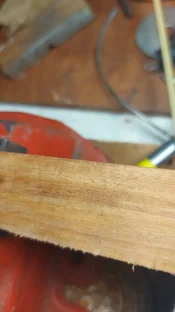
The sole was not so bad
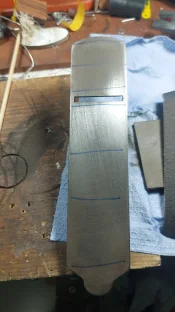
Back bevel
Ready
Front bevel in progress
Assembled
Cutting figured wood
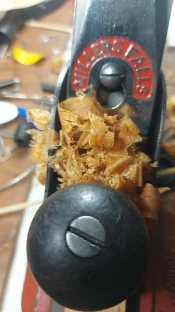
So nice
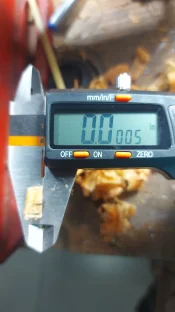
Metric
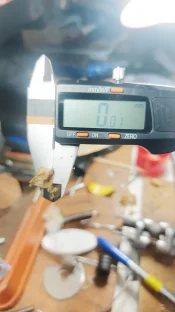
Millers Falls 8
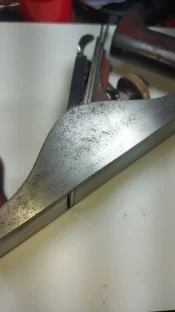
Glass smooth
Thanks for attention
I cleaned the sides and started to flat the sole and sharp the blade.
I did a 20⁰ back bevel.I assembled the plane for a test drive....I"ll work a little bit more soon ....see the pictures below:
The sole was not so bad
Back bevel
Ready
Front bevel in progress
Assembled
Cutting figured wood
So nice
Metric
Millers Falls 8
Glass smooth
Thanks for attention
Last edited:
- Thread Starter Thread Starter
- #31
Hello folks...I decided not sand the sides until polished appearence...just cleaned and kept some patina.
At knob and tote just 2000 grit sand paper and light wax.
At red back At frog just cleaned using a few drops of lacquer thinner.
The body itself I kept the original black with damaged spots (like a rat hot rod).Again a few drops of lacquer thinner and wax.
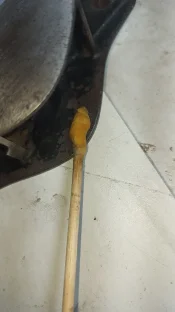
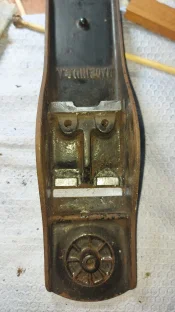
At exposed metal I applied three coats of shellac just to protect from air...no air no corrosion...I live near the ocean.
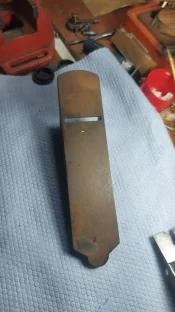
At sole I use a 400 and 1200 diamond stone to flat...some spots needs more work to reach a dead flat level ...but for soon.
Shellac to avoid air/corrosion
How the sole was
All exposed metal I used shellac.All black paint was cleaned and waxed .At frog contacts only vaseline.
Thanks for attention
At knob and tote just 2000 grit sand paper and light wax.
At red back At frog just cleaned using a few drops of lacquer thinner.
The body itself I kept the original black with damaged spots (like a rat hot rod).Again a few drops of lacquer thinner and wax.
At exposed metal I applied three coats of shellac just to protect from air...no air no corrosion...I live near the ocean.
At sole I use a 400 and 1200 diamond stone to flat...some spots needs more work to reach a dead flat level ...but for soon.
Shellac to avoid air/corrosion
How the sole was
All exposed metal I used shellac.All black paint was cleaned and waxed .At frog contacts only vaseline.
Thanks for attention
Last edited:
- Thread Starter Thread Starter
- #32
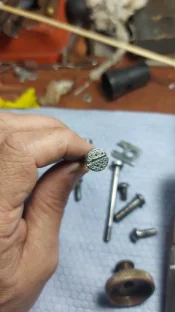
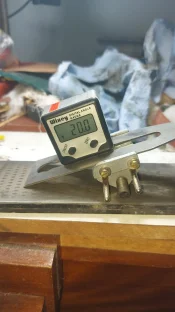
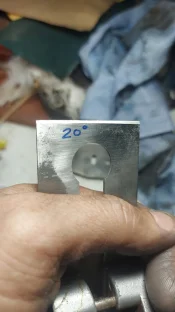
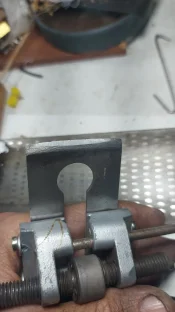
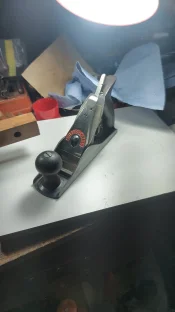
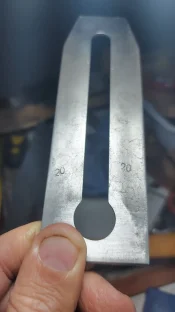
Hello folks...I marked the back bevel at plane blade...the cap iron is nickel plated too but not my service.I need to check if is original MF feature.
See the picures below:
20⁰ marked
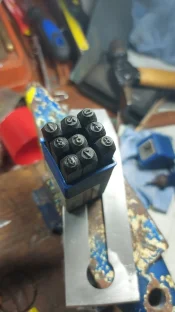
How do you call this number marker kit?
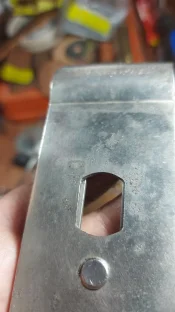
Looks like nickel plated
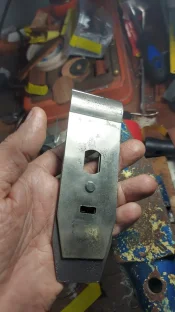
I must to check and confirm
Thanks for attention
See the picures below:
20⁰ marked
How do you call this number marker kit?
Looks like nickel plated
I must to check and confirm
Thanks for attention
Last edited:

woodtickgreg
scroll, flat, spin
Staff member
Administrator
Global Moderator
Founding Member
Full Member
Forum Moderator
Called number stamps.