

Here is box #2. It was built with a purpose in mind. Hickory at 3" wide, 2 1/4" tall and 5 5/8" wide. Edges are 1/4" and the ends are 1/4+.
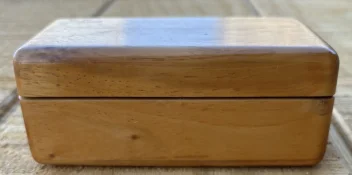
This is the front side. When the box was made back in 2011, that gap wasn't there. This is store bought KD 8/4 hickory.
Back side.
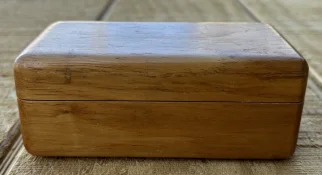
My problem was that the box shrunk near the outer edges leaving the pith area larger, causing the gap seen in the above pictures and this one. There's a gap at the glue joint that's NOT as visible as seen on the left side. My Iphone is really picking out flaws that aren't as bad as the pictures show. That glue seam and corner on the left are barely visible looking at the actual piece.
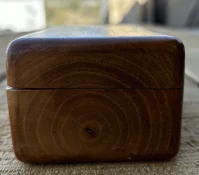
The top is flat, but the bottom is where distortion is.
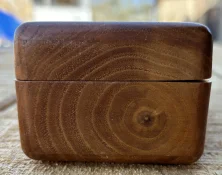
This is the purpose for the box. Black pipe stone from possibly Wisconsin( memory came back). When I was building it, I knew I wasn't going to hinge it, but instead I would drill holes through the edges of the 2 long sides. That way, when the box build was complete, it would be split to give me top and bottom. The holes would align no matter how badly the were drilled. Unfortunately the bit was about 40 thousandths and since Hickory is mean, the bit wandered while drilling. I didn't know until the top was split off from the top. This picture shows how much wandering I had, but the holes aligned.
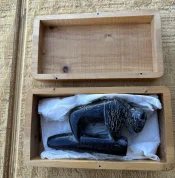
What I then did was get 18 gunge copper wire and inserted into the bottom part of the box to act as ???? to attach the lid to bottom of the box. It works really well but the left side in this first picture was so close to getting this small job tossed.
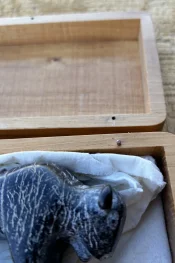
Nuttin like kissing a Rattle Snake to get a good toke.
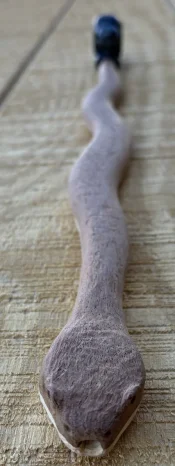
The snake is Mesquite and Palo Verde. I started with a couple pieces if wood 1/2 x 1 3/4 x?. Found center, and then ran a thin kerf groove on both pieces. To verify center, I turned each piece around and ran them again, then glued the pieces together. Shaped the curves and called it quits on that project. I ran a wire through the piece while the glue was still wet to guarantee a good toke.
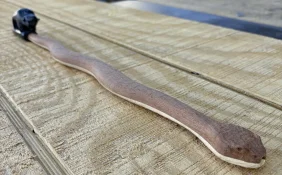
Enough of this. ................. Nubs
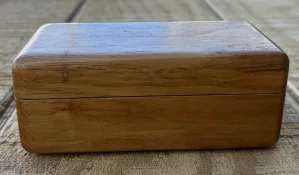
This is the front side. When the box was made back in 2011, that gap wasn't there. This is store bought KD 8/4 hickory.
Back side.
My problem was that the box shrunk near the outer edges leaving the pith area larger, causing the gap seen in the above pictures and this one. There's a gap at the glue joint that's NOT as visible as seen on the left side. My Iphone is really picking out flaws that aren't as bad as the pictures show. That glue seam and corner on the left are barely visible looking at the actual piece.
The top is flat, but the bottom is where distortion is.
This is the purpose for the box. Black pipe stone from possibly Wisconsin( memory came back). When I was building it, I knew I wasn't going to hinge it, but instead I would drill holes through the edges of the 2 long sides. That way, when the box build was complete, it would be split to give me top and bottom. The holes would align no matter how badly the were drilled. Unfortunately the bit was about 40 thousandths and since Hickory is mean, the bit wandered while drilling. I didn't know until the top was split off from the top. This picture shows how much wandering I had, but the holes aligned.
What I then did was get 18 gunge copper wire and inserted into the bottom part of the box to act as ???? to attach the lid to bottom of the box. It works really well but the left side in this first picture was so close to getting this small job tossed.
Nuttin like kissing a Rattle Snake to get a good toke.
The snake is Mesquite and Palo Verde. I started with a couple pieces if wood 1/2 x 1 3/4 x?. Found center, and then ran a thin kerf groove on both pieces. To verify center, I turned each piece around and ran them again, then glued the pieces together. Shaped the curves and called it quits on that project. I ran a wire through the piece while the glue was still wet to guarantee a good toke.
Enough of this. ................. Nubs
Last edited:


