

I've been working on this off and on for a while and I managed to remember take a few pictures of the steps involved. Some of you might want to make a box for your sweetheart.
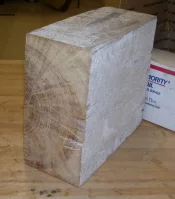
This is the chunk of pine heart beam Kevin (Rdnkmedic) sent me. Had a little checking but not too bad. It was thicker than I needed so I trimmed most of the checks away.
[attachment=28843]
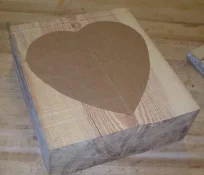
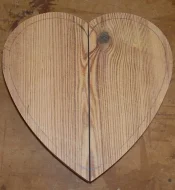
Cut to the total thickness I needed, I glued a pattern on the block:[attachment=28844]
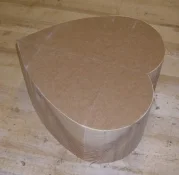
And cut it out on the bandsaw:
[attachment=28845]
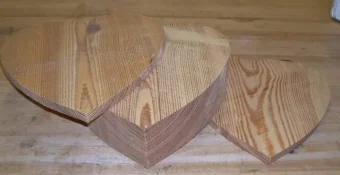
Then I sliced a piece off the top and bottom to use for the bottom and lid:
[attachment=28846]
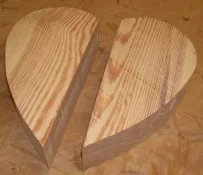
Next I cut the remaining blank down the middle, and jointed the faces so the sides will fit back together nicely:
[attachment=28847]
I marked out the thickness I wanted using a compass to guide the line around the edge:
[attachment=28848]
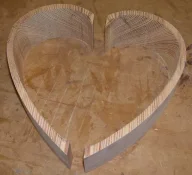
And cut the sides out on the bandsaw, and smoothed the insides with a spindle sander. The inside doesn't have to be perfect if you use flocking; it covers minor defects great.
[attachment=28849]
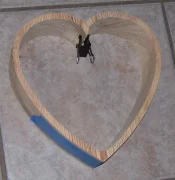
Then I glue the sides together; I take large size document clips, bend part of the metal out and file teeth on them, and use them as mini clamps for the top. The bottom is secured with masking tape pulled tight.
[attachment=28851]
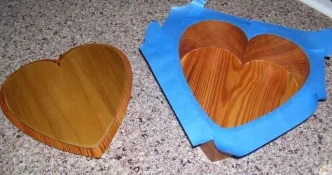
I missed a few pictures here but to explain: I glued to bottom back on (be mindful of the orientation so the grain lines up) and sanded the outside smooth, I shaped the top a bit and glued a piece of poplar to the underside that will drop in the top and keep the lid in position. Here it is with finish applied and taped off flocking.
[attachment=28853]
I cant believe I got this all in one post I will post a pic of the finished box in a couple of days, it takes a while for the flocking to cure.
This is the chunk of pine heart beam Kevin (Rdnkmedic) sent me. Had a little checking but not too bad. It was thicker than I needed so I trimmed most of the checks away.
[attachment=28843]
Cut to the total thickness I needed, I glued a pattern on the block:[attachment=28844]
And cut it out on the bandsaw:
[attachment=28845]
Then I sliced a piece off the top and bottom to use for the bottom and lid:
[attachment=28846]
Next I cut the remaining blank down the middle, and jointed the faces so the sides will fit back together nicely:
[attachment=28847]
I marked out the thickness I wanted using a compass to guide the line around the edge:
[attachment=28848]
And cut the sides out on the bandsaw, and smoothed the insides with a spindle sander. The inside doesn't have to be perfect if you use flocking; it covers minor defects great.
[attachment=28849]
Then I glue the sides together; I take large size document clips, bend part of the metal out and file teeth on them, and use them as mini clamps for the top. The bottom is secured with masking tape pulled tight.
[attachment=28851]
I missed a few pictures here but to explain: I glued to bottom back on (be mindful of the orientation so the grain lines up) and sanded the outside smooth, I shaped the top a bit and glued a piece of poplar to the underside that will drop in the top and keep the lid in position. Here it is with finish applied and taped off flocking.
[attachment=28853]
I cant believe I got this all in one post
I will post a pic of the finished box in a couple of days, it takes a while for the flocking to cure.


