
You are using an out of date browser. It may not display this or other websites correctly.
You should upgrade or use an alternative browser.
You should upgrade or use an alternative browser.
Wood and Art
- Thread starter Asssiss
- Start date

Good start, but it looked like you were building a campfire! Also, the excess extruding glue is a distraction. ChuckToday I did some more steps.
The nest itself is forming.
My daughter will choose the better configuration for the sticks at nest...square or like a star.
I just glued some parts and soon "ll stil working.
Like a pencil point
View attachment 292101 View attachment 292102 GluingView attachment 292103 I waxed before to be easy clean glue leftovers View attachment 292104 One configurationView attachment 292105Just a "test drive" View attachment 292106 View attachment 292107 Another configuration View attachment 292108 View attachment 292109 View attachment 292110
- Thread Starter Thread Starter
- #83
Thanks for comment...I"ll change...that white glue clean very easy ...will be simple ...I have to think more about sticks and problably do all again from zeroGood start, but it looked like you were building a campfire! Also, the excess extruding glue is a distraction. Chuck
- Thread Starter Thread Starter
- #84
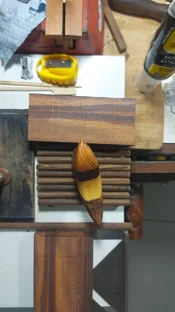
I changed the nest and use the sticks for made a deck.
At deck I"ll add a bird feeder (fake) using contrast wood.Clear down and dark at cover.
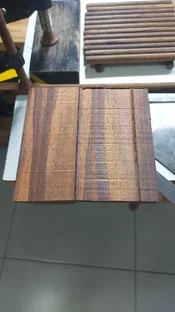
I have a piece of Brazilian Rosewood. It was an old door jamb.
When I talked about ideas my daughter loved both...so I'm making both for her bedroom and another place at home.
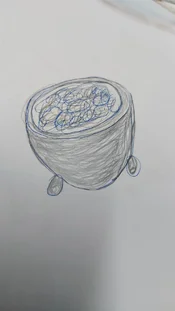
The idea
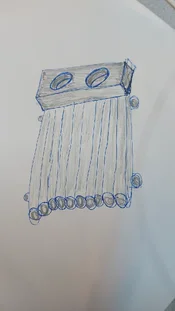 Nest idea
 Rosewood jamb
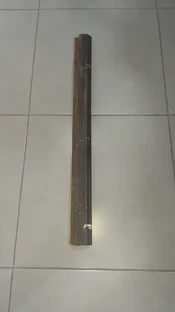
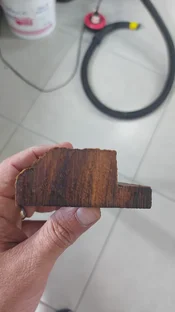 I cutted a piece...the holes soon
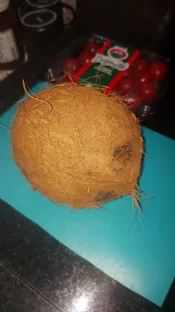
 Coconut
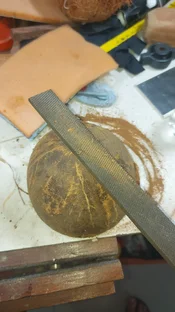
 File
File
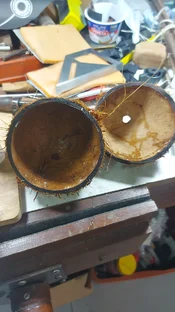 Will be like this
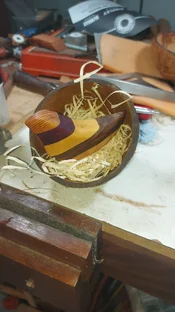 I am sanding and cleaning the case
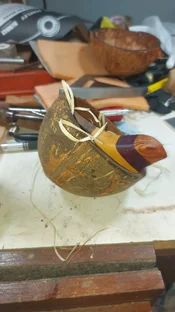
At deck I"ll add a bird feeder (fake) using contrast wood.Clear down and dark at cover.
I have a piece of Brazilian Rosewood. It was an old door jamb.
When I talked about ideas my daughter loved both...so I'm making both for her bedroom and another place at home.
The idea
 Nest idea
 Rosewood jamb
 I cutted a piece...the holes soon
 Coconut
 File
File
 Will be like this
 I am sanding and cleaning the case
Last edited:
- Thread Starter Thread Starter
- #85
I'll do round edges at feeder.
More pictures:
Copied this...contrasting wood
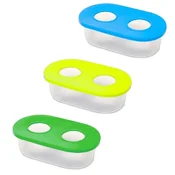 Same sticks
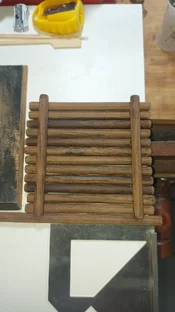 The cover from Rosewood
 Will be proportional...here just for picture
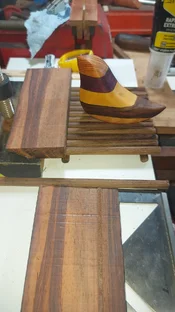
More pictures:
Copied this...contrasting wood
 Same sticks
 The cover from Rosewood
 Will be proportional...here just for picture
Last edited:
Much better! Really like the coconut shell — very natural looking. ChuckI'll do round edges at feeder.
More pictures:
Copied this...contrasting wood
View attachment 292187 Same sticks View attachment 292188 The cover from Rosewood View attachment 292189 Will be proportional...here just for picture View attachment 292190
- Thread Starter Thread Starter
- #87
This morning I did some steps more.
I"ll leave the sticks deck for two birds itself.The feeder I"ll add a perch and "ll be another piece as well.
Like this
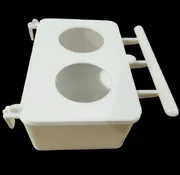 Brass nail
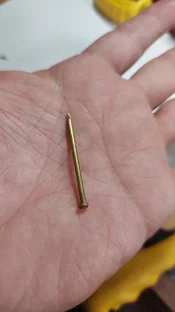
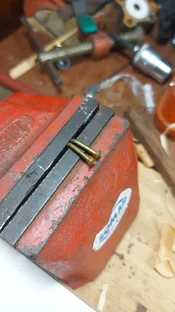 No head.Perch stick at nail soon.
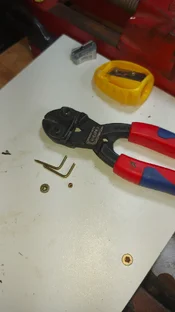
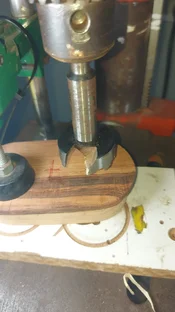
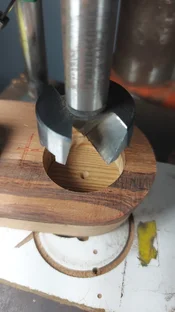 That point mark is ugly
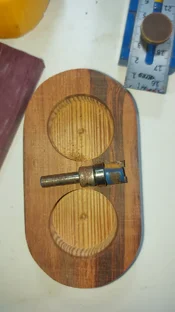
Split at router bit.Tomorrow I complete
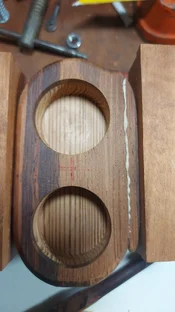 I copied with extra for 3/8" round over bit
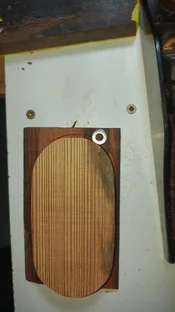
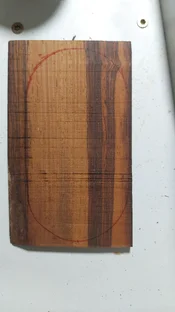
I"ll leave the sticks deck for two birds itself.The feeder I"ll add a perch and "ll be another piece as well.
Like this
 Brass nail
 No head.Perch stick at nail soon.
 That point mark is ugly
Split at router bit.Tomorrow I complete
 I copied with extra for 3/8" round over bit
Last edited:


Feeder looks great! Everything is coming together!
- Thread Starter Thread Starter
- #90
The nest is ready too.It was very intersting and nice because when me and my daughter didn't like the first version many here didn't either.
No comparsion the coconut shell and that first firecamp frame.
Just clean using wire brush
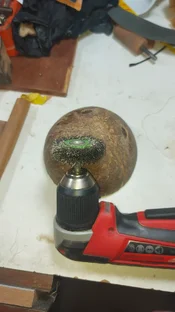 Shine after wire brush
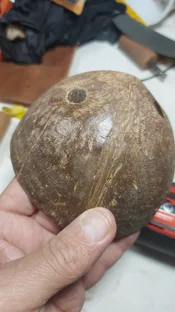 Varnish
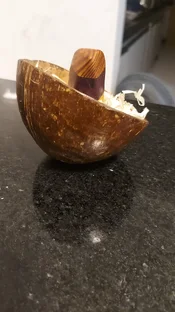
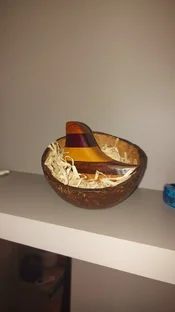
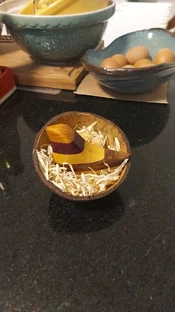 No modesty...I loved
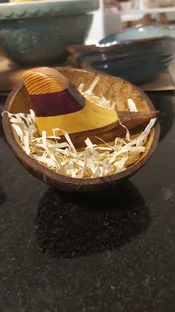
No comparsion the coconut shell and that first firecamp frame.
Just clean using wire brush
 Shine after wire brush
 Varnish
 No modesty...I loved
Last edited:
Bingo! Great solution!The nest is ready too.It was very intersting and nice because when me and my daughter didn't like the first version many here didn't either.
No comparsion the coconut shell and that first firecamp frame.
Just clean using wire brush
View attachment 292311 Shine after wire brushView attachment 292312 VarnishView attachment 292313 View attachment 292314 View attachment 292315 No modesty...I lovedView attachment 292316
- Thread Starter Thread Starter
- #92
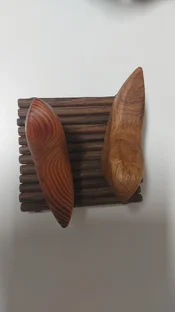
Because I already had the sticks cutted at short lenght I used they as a deck for birds too.
I"ll dry (using hot blower gun) the branch ,clean and apply a coat of varnish and use it too.
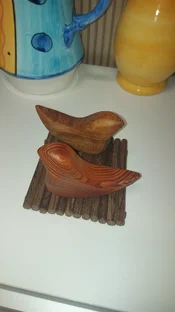
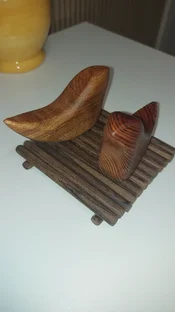
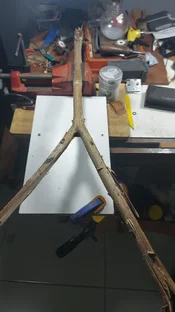
I"ll dry (using hot blower gun) the branch ,clean and apply a coat of varnish and use it too.
