
You are using an out of date browser. It may not display this or other websites correctly.
You should upgrade or use an alternative browser.
You should upgrade or use an alternative browser.
The Conestoga Wagon build
- Thread starter Kenbo
- Start date


Kenbo
Self proclaimed expert of nothing
Staff member
Global Moderator
Founding Member
Full Member
Forum Moderator
- Thread Starter Thread Starter
- #82
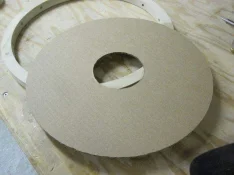
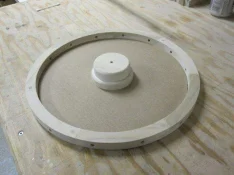
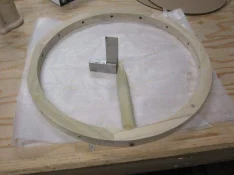
I got out to the shop today and got a little done. I started of by repeating the process that I used for the rear wheels. I made an insert for the middle and drew out my wheels diameters. I also got the wheels drilled for the pins. I cut the exterior diameter with the bandsaw and the inner diameter with the scroll saw. I got everything sanded up to the lines and glued in the pins. Hopefully, tomorrow I will be able to cut and sand the pins flush with the wheels and start in on the spokes or maybe the hubs.
[attachment=12584]
[attachment=12585]
[attachment=12586]
[attachment=12587]
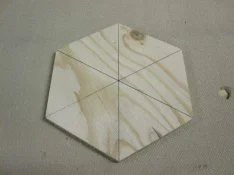
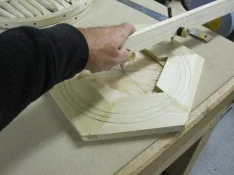
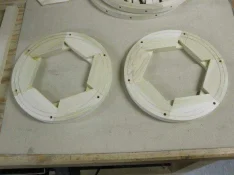
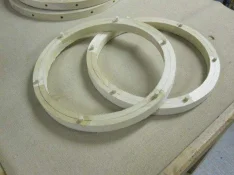
[attachment=12584]
[attachment=12585]
[attachment=12586]
[attachment=12587]


Your attention to detail is incredible. Fitting a bunch of big parts together is one thing- a bunch of little ones is a whole nother ball game. I sure do not want to build a wagon built it SURE is FUN to watch!!!!!!!!! 

Kenbo
Self proclaimed expert of nothing
Staff member
Global Moderator
Founding Member
Full Member
Forum Moderator
- Thread Starter Thread Starter
- #85
Spent another while in the shop after work today. My goal was to finish the hubs and split rings that I started yesterday. I really really really want to start assembling the wheels tomorrow. I know it is going to be a long process, but my goal for tomorrow is to have all 4 wheels complete. I don't know if that is ambitious or not, but that is the goal.
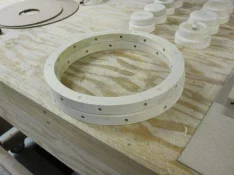
For today, I was able to get all 8 large discs cut, drilled, routed and sanded as well as all 4 split rings and small hubs. I also managed to pull off a dry fit of the larger rear wheels. I drilled the initial holes in the hubs and used my dowel centers to transfer the holes to the other pieces. I cut all the split rings on a scroll saw but used a circle cutter for the large discs and hubs. I still need to drill the 3/4" holes for the hubs but that will be tomorrow when the assembly of the wheels is complete. This way, I can make sure that all the holes line up correctly.
[attachment=12656]
[attachment=12657]
[attachment=12658]
[attachment=12659]
[attachment=12660]
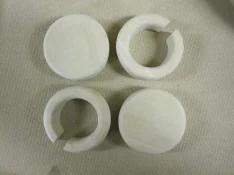
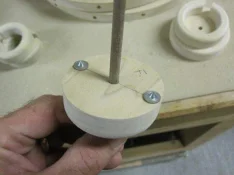
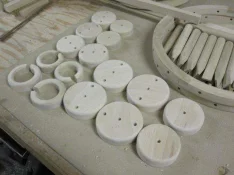
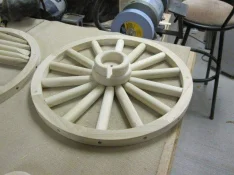
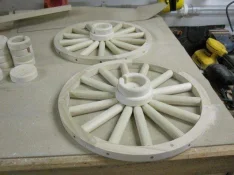
For today, I was able to get all 8 large discs cut, drilled, routed and sanded as well as all 4 split rings and small hubs. I also managed to pull off a dry fit of the larger rear wheels. I drilled the initial holes in the hubs and used my dowel centers to transfer the holes to the other pieces. I cut all the split rings on a scroll saw but used a circle cutter for the large discs and hubs. I still need to drill the 3/4" holes for the hubs but that will be tomorrow when the assembly of the wheels is complete. This way, I can make sure that all the holes line up correctly.
[attachment=12656]
[attachment=12657]
[attachment=12658]
[attachment=12659]
[attachment=12660]

woodtickgreg
scroll, flat, spin
Staff member
Administrator
Global Moderator
Founding Member
Full Member
Forum Moderator
This is such a cool project! I can't believe the amount of work that goes into the wheels, their gonna look really cool mounted on the wagon. Great work Ken, really enjoying your build! 
Kenbo
Self proclaimed expert of nothing
Staff member
Global Moderator
Founding Member
Full Member
Forum Moderator
- Thread Starter Thread Starter
- #87
woodtickgreg said:This is such a cool project! I can't believe the amount of work that goes into the wheels, their gonna look really cool mounted on the wagon. Great work Ken, really enjoying your build!
Thanks Greg. The wheels are killing me. I still have all the pins to make for the spokes and each pin is held in place with a wedge. I'll be making custom walnut dowels and I'm thinking poplar wedges for a little contrast. I've been playing it through in my head all week as to how I'm going to do it and I still have no idea.
 Hopefully it will be a successful day tomorrow.

Why do I think there will be a solution by morning?
Kenbo
Self proclaimed expert of nothing
Staff member
Global Moderator
Founding Member
Full Member
Forum Moderator
- Thread Starter Thread Starter
- #89
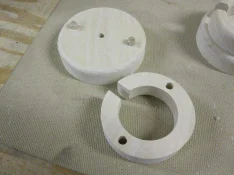
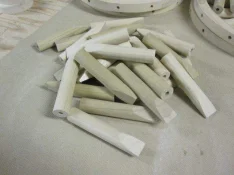
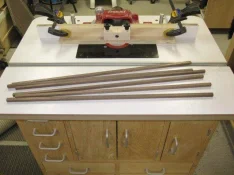
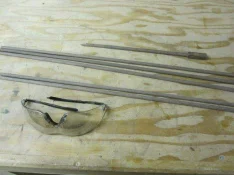
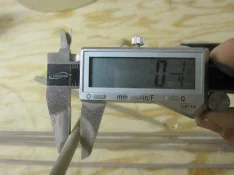
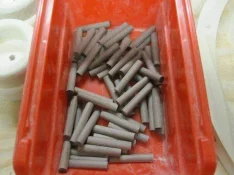
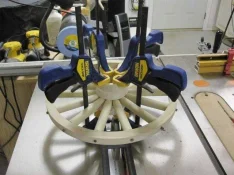
Spent 9 hours in the shop today. I glued all the hubs and discs together as well as glueing the split rings to the outer hubs for all 4 wheels. I flush cut all the half lap joint pins and sanded the front wheels. I made some cardboard templates to help me in centering the hubs once I got the spokes glued in. I started off using my beam compass with an exacto knife, but there was too much flex in the blade, so I ended up marking them and cutting them on the scroll saw. Cardboard on the scroll saw. That's a first for me. I drilled sanded and routed all the spokes for the front wheels. I also had to make some 1/4" walnut dowels because I wanted contrasting pins for the spokes. I used my dowel cutting jig that I made for this. I then went through and glued in all 52 spokes and squared them up using a 2" square. I started off using regular titebond, but switched to titebond III to give me a little more working time. Once I got all the spokes glued in, I glued and pinned the hubs and clamped everything up. Once that was all dry, I spent what seemed like forever, sanding. I then drilled the 3/4" holes to accept the axles and viola. Here's where I'm at now.
[attachment=12724]
[attachment=12725]
[attachment=12726]
[attachment=12727]
[attachment=12728]
[attachment=12729]
[attachment=12730]
[attachment=12731]
[attachment=12732]
[attachment=12733]
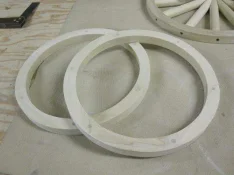
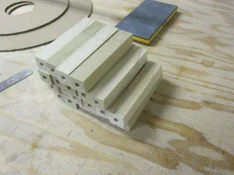
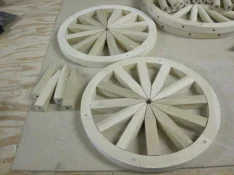
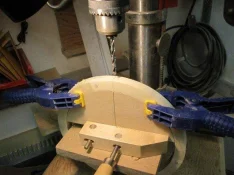
[attachment=12724]
[attachment=12725]
[attachment=12726]
[attachment=12727]
[attachment=12728]
[attachment=12729]
[attachment=12730]
[attachment=12731]
[attachment=12732]
[attachment=12733]
Kenbo
Self proclaimed expert of nothing
Staff member
Global Moderator
Founding Member
Full Member
Forum Moderator
- Thread Starter Thread Starter
- #90
[attachment=12738]
[attachment=12739]
[attachment=12740]
[attachment=12741]
[attachment=12742]
[attachment=12743]
[attachment=12744]
[attachment=12745]
[attachment=12746]
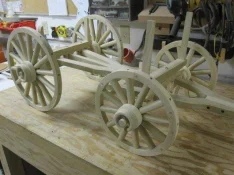
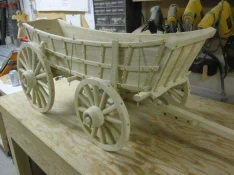
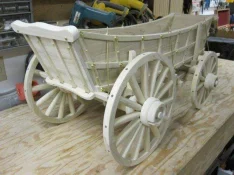
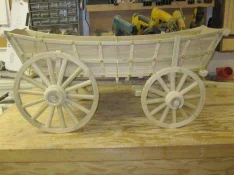
[attachment=12739]
[attachment=12740]
[attachment=12741]
[attachment=12742]
[attachment=12743]
[attachment=12744]
[attachment=12745]
[attachment=12746]

Looking good! When are you gonna start on the Shetland ponies to pull this mutha?
Looking good- I love it. David I think he is going to use his wooden harley.

Absolutely amazing................. :wacko1:
Kenbo
Self proclaimed expert of nothing
Staff member
Global Moderator
Founding Member
Full Member
Forum Moderator
- Thread Starter Thread Starter
- #94
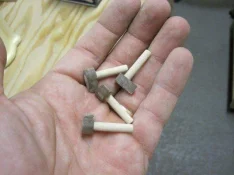
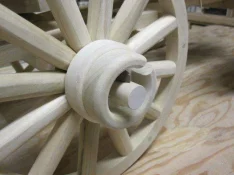
I started off the day by making some smaller pieces to finish off sections of the wagon that I started earlier in the build. I started off with the linch pins. I figured that they would be a good addition at this point consider that I now had wheels to use them on.
[attachment=12804]
[attachment=12805]
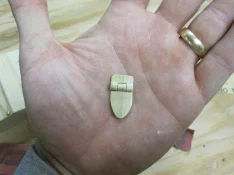
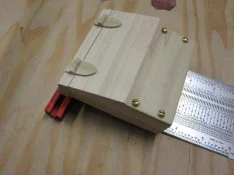
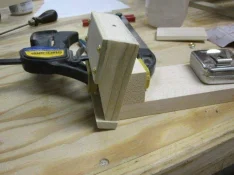
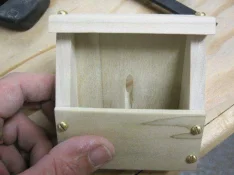
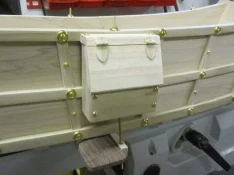
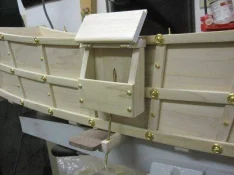
I then concentrated on making the hinges for the box. I had stated earlier that I wanted to make wooden hinges so that is what I did. I cut them on the scroll saw using compound cutting. I also drilled the angled hole through the bottom and back of the box to allow the brass rod to pass through. Once I got the box mounted, I glued the hinges in place. They work like a charm and I'm really happy with the way they turned out.
[attachment=12806]
[attachment=12807]
[attachment=12808]
[attachment=12809]
[attachment=12810]
[attachment=12811]
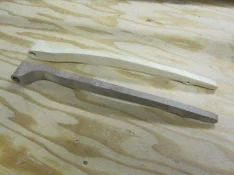
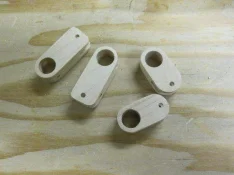
I then started to work on the brake system. It was then that I realized that a couple of parts had been made wrong. I made the handle backwards. So I made a new one out of walnut. I also noticed that the cams were too large and didn't allow the brake assembly to work correctly. I made some new ones for that as soon as I finished the calculations on what length they should be.
[attachment=12812]
[attachment=12813]
[attachment=12804]
[attachment=12805]
I then concentrated on making the hinges for the box. I had stated earlier that I wanted to make wooden hinges so that is what I did. I cut them on the scroll saw using compound cutting. I also drilled the angled hole through the bottom and back of the box to allow the brass rod to pass through. Once I got the box mounted, I glued the hinges in place. They work like a charm and I'm really happy with the way they turned out.
[attachment=12806]
[attachment=12807]
[attachment=12808]
[attachment=12809]
[attachment=12810]
[attachment=12811]
I then started to work on the brake system. It was then that I realized that a couple of parts had been made wrong. I made the handle backwards. So I made a new one out of walnut. I also noticed that the cams were too large and didn't allow the brake assembly to work correctly. I made some new ones for that as soon as I finished the calculations on what length they should be.
[attachment=12812]
[attachment=12813]
Kenbo
Self proclaimed expert of nothing
Staff member
Global Moderator
Founding Member
Full Member
Forum Moderator
- Thread Starter Thread Starter
- #95
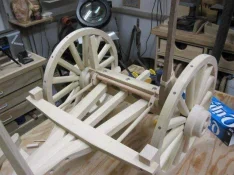
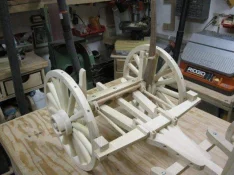
I then got to work assmebling and installing the brake system. It's quite the set up and works really well. Once the brake is applied, those rear wheels lock up tight. Very cool indeed.
Once all the brackets and cams were installed, I set the wagon back into the chasis and this is where we are at at this point. Doesn't seem like a lot of work for the 10 hours that I worked on it today, but I had a good time so I'm okay with that.
[attachment=12815]
[attachment=12816]
[attachment=12817]
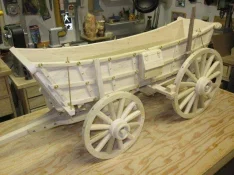
Once all the brackets and cams were installed, I set the wagon back into the chasis and this is where we are at at this point. Doesn't seem like a lot of work for the 10 hours that I worked on it today, but I had a good time so I'm okay with that.
[attachment=12815]
[attachment=12816]
[attachment=12817]
woodtickgreg
scroll, flat, spin
Staff member
Administrator
Global Moderator
Founding Member
Full Member
Forum Moderator
Never imagined there would be such small parts on this! Really taking shape now, looks great.  Man this thing is just too cool!
Wow, I am amazed at the level of detail on this project. Thanks for sharing this, Ken. Beautiful work. BTW, you obviously have way too much spare time. Haha!
Kenbo
Self proclaimed expert of nothing
Staff member
Global Moderator
Founding Member
Full Member
Forum Moderator
- Thread Starter Thread Starter
- #98
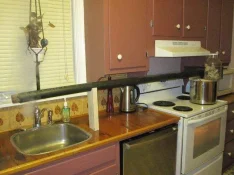
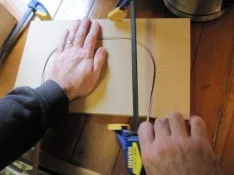
To make a very long story, very short........I started bending the hoops for the canopy today. I'm using oak and I made a very simple steamer box out of some 2" ABS pipe and a plywood pot lid. I have 8 hoops in total to make, but I only cut 2 forms, so this will take a few days. Hang in there, I'm still going.
[attachment=13121]
[attachment=13122]
[attachment=13121]
[attachment=13122]

Ah, now I'm all caught up. still loving' this buld.